|
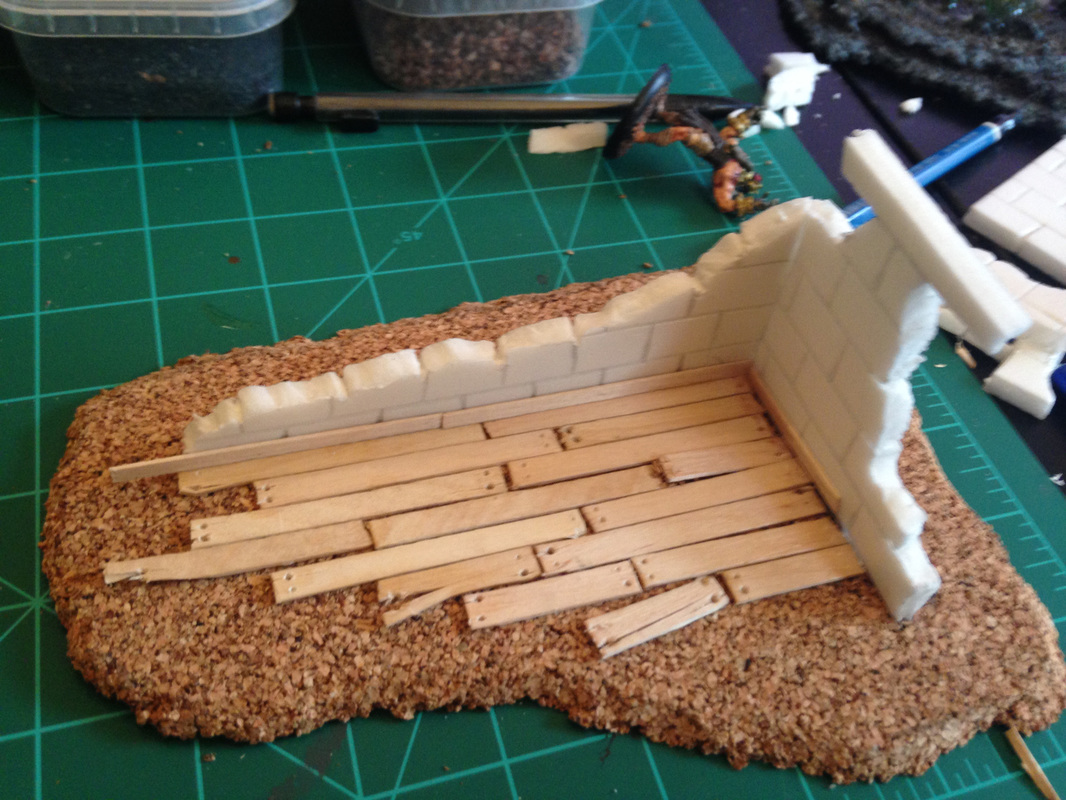
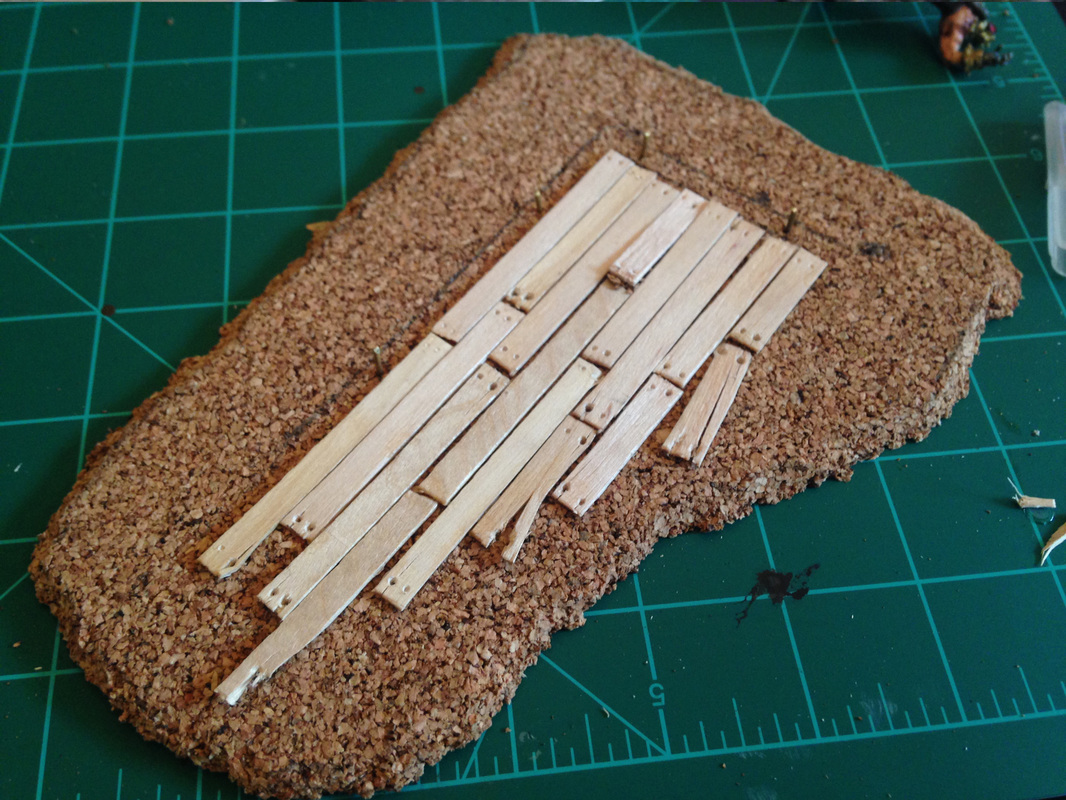
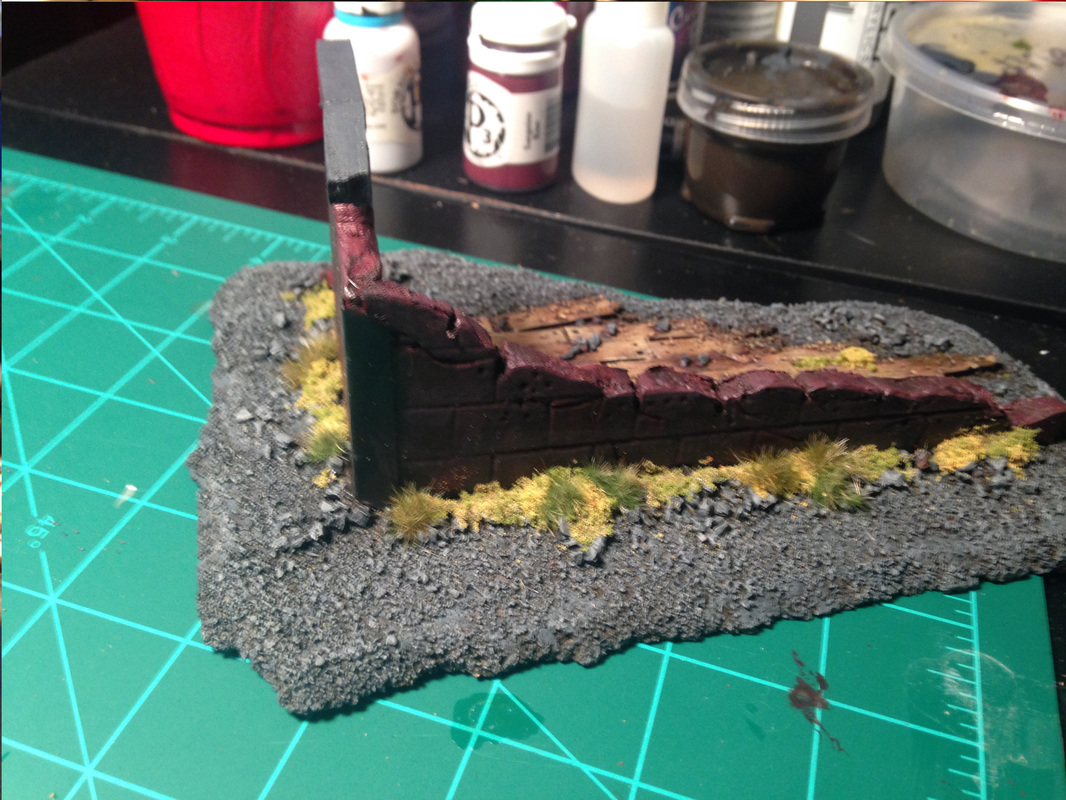
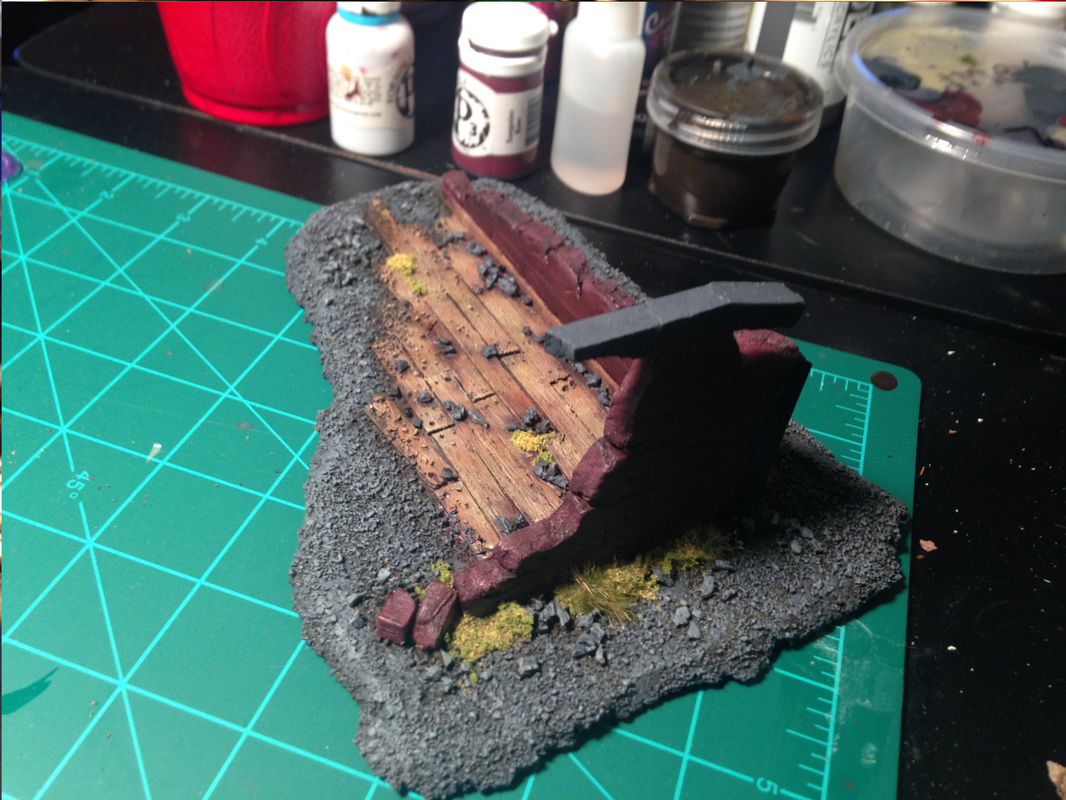
I have been wanting to make a barrier type terrain piece so I used some left over pieces of foam, cork and some wood stir sticks to put this together. 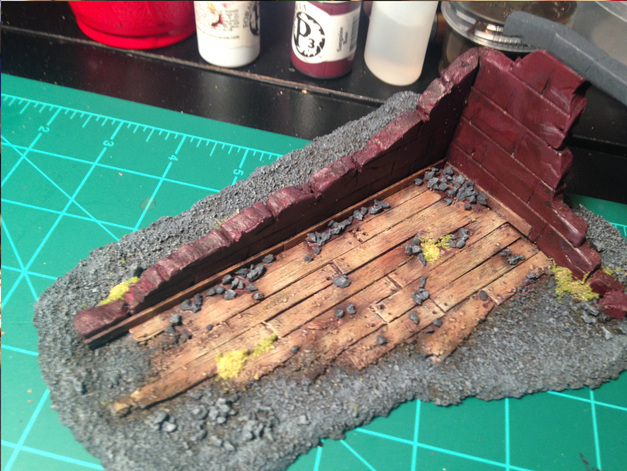 My process here was pretty straight forward. I started by scoring brick onto some appropriately sized foam board. I used two 1/8" thick pieces that were rectangular. I cut the ends at 45 degree angles for the corners to meet. I then cut away and broke off peices to be the size and shape that I wanted the walls to be. I pinned it to the cork board and traced the outline. I then lined the interior with the wood stir sticks which were cut to be approximately 8 ft long in scale. I raised some pieces and made sure there were variations to the placement, trying to make sure the outside pieces were mangled and broken. I scored wooden texture into the wood and pressed divots where the ends met to look like nails.
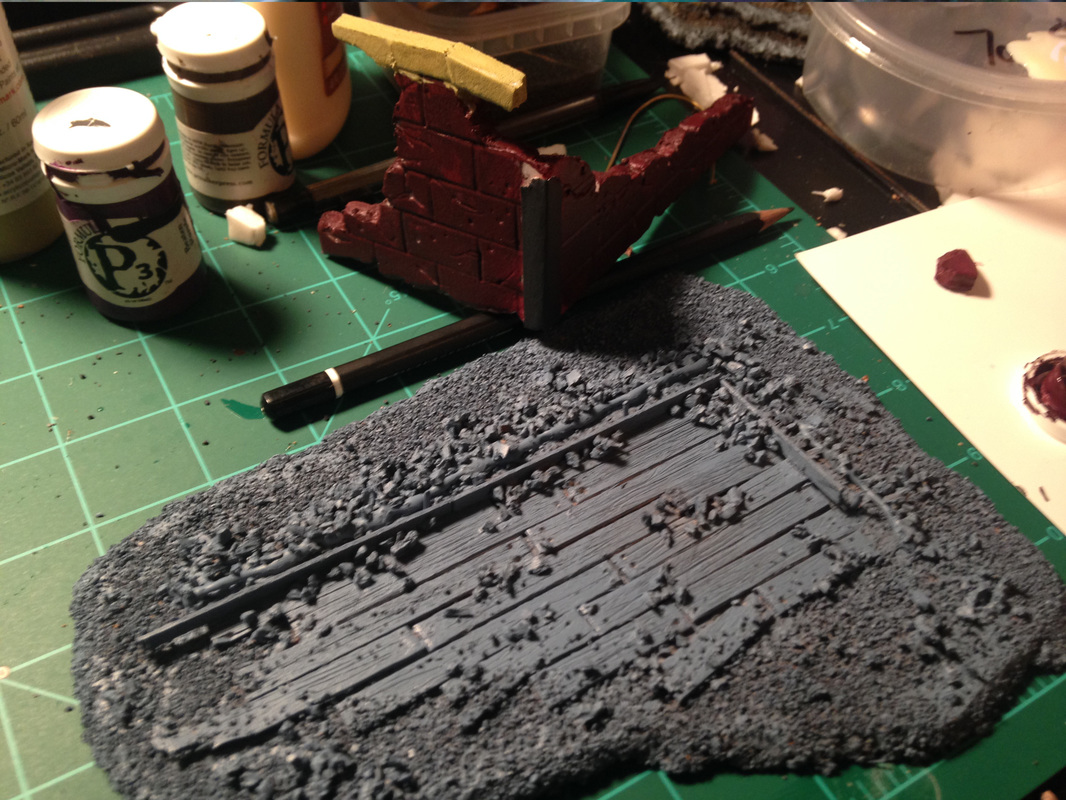
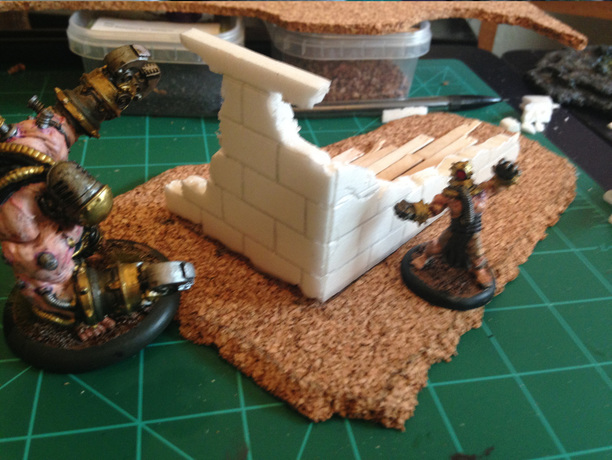 I took a thin piece of card and created an edge cover for the seam of the building. I covered the base with small sand and rocks, then primed the base and did a quick paint of the foam. I kept the pieces separate as long as I could.
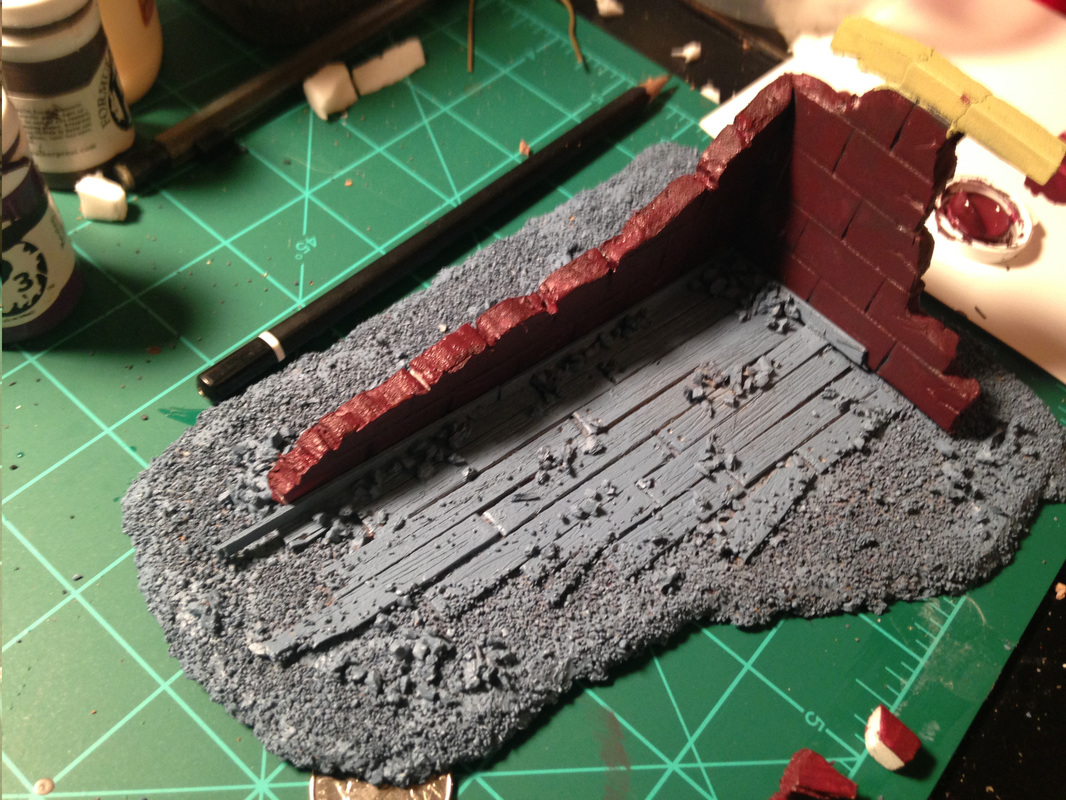
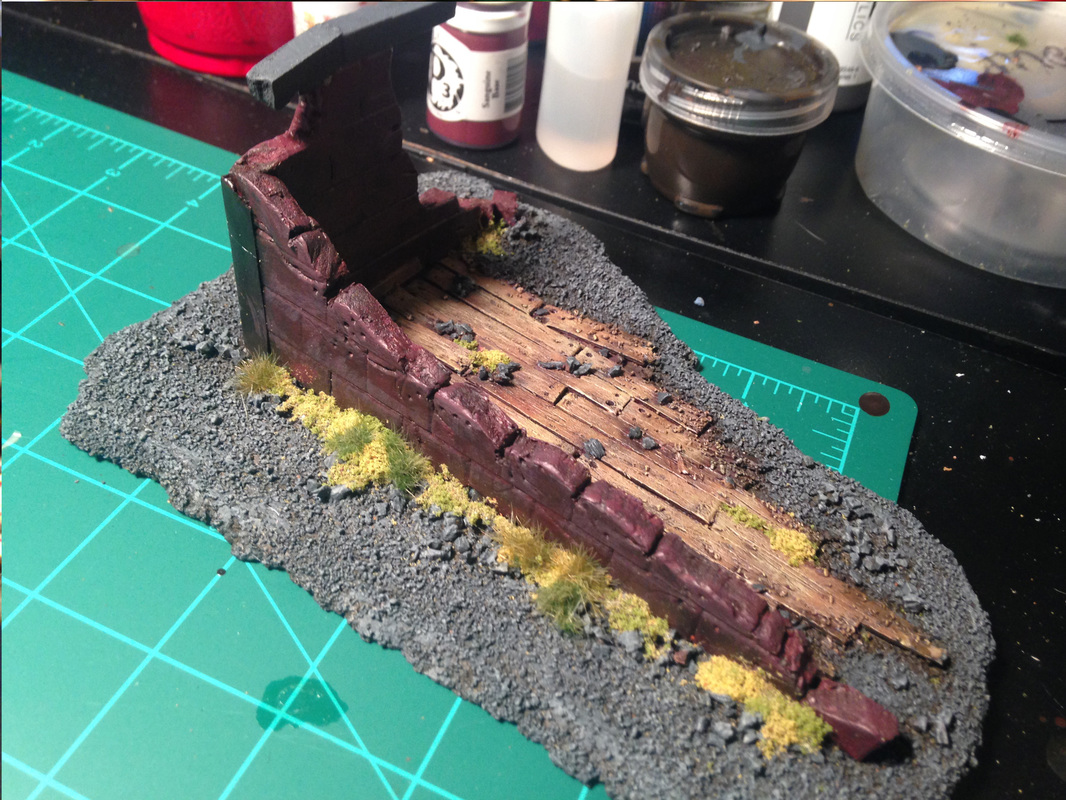
I then did a pre wash of the base. I used a reddish-brown ink for the wood, making sure to get the recesses, and a dark umber for the dirt and seams. 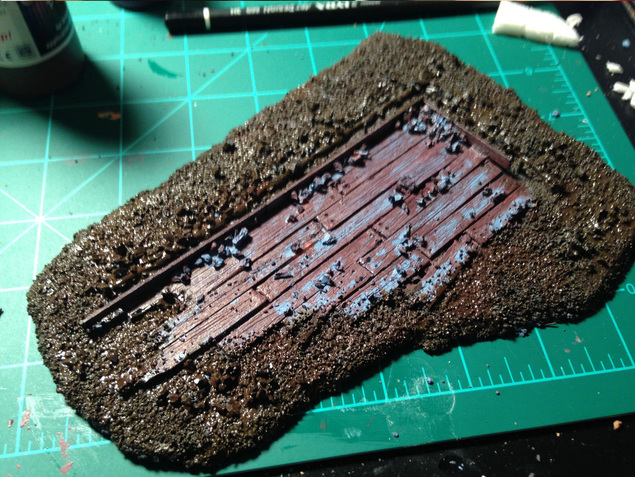 I then washed the bricks and attached it to the base with hot glue. I heavily dry bushed the wood with a medium brown, re washed some areas with umber and sepia for dirty variations and did a final light dry brushing with light browns and bone colors. I did a heavy dry brushing of the dirt areas with a dark grey, re washed areas with umber and sepia for dirty areas then did a light dry brush of med grey. I went heavier on some areas with the med grey to focus attention on some areas.
I added some moss and grass around the corners to hide seams and protruding hot glue. I also placed some around the wood in areas that seemed to make sense. Final highlighting and some more grass and this thing is done.
0 Comments
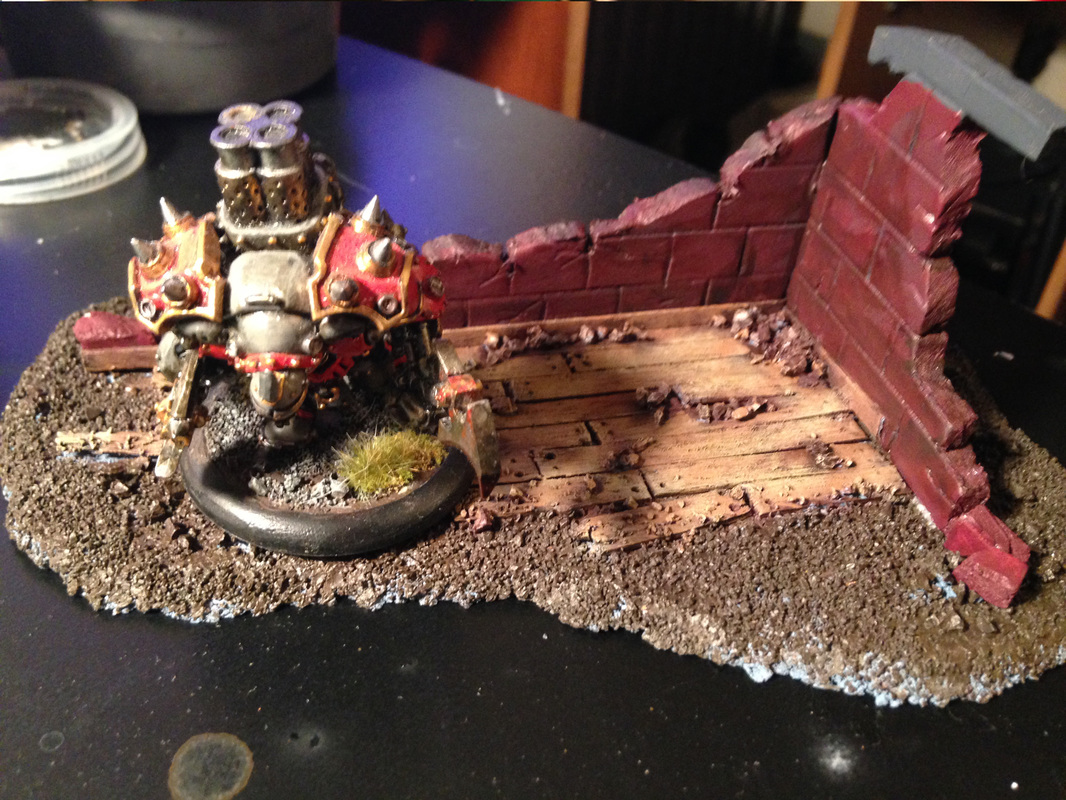
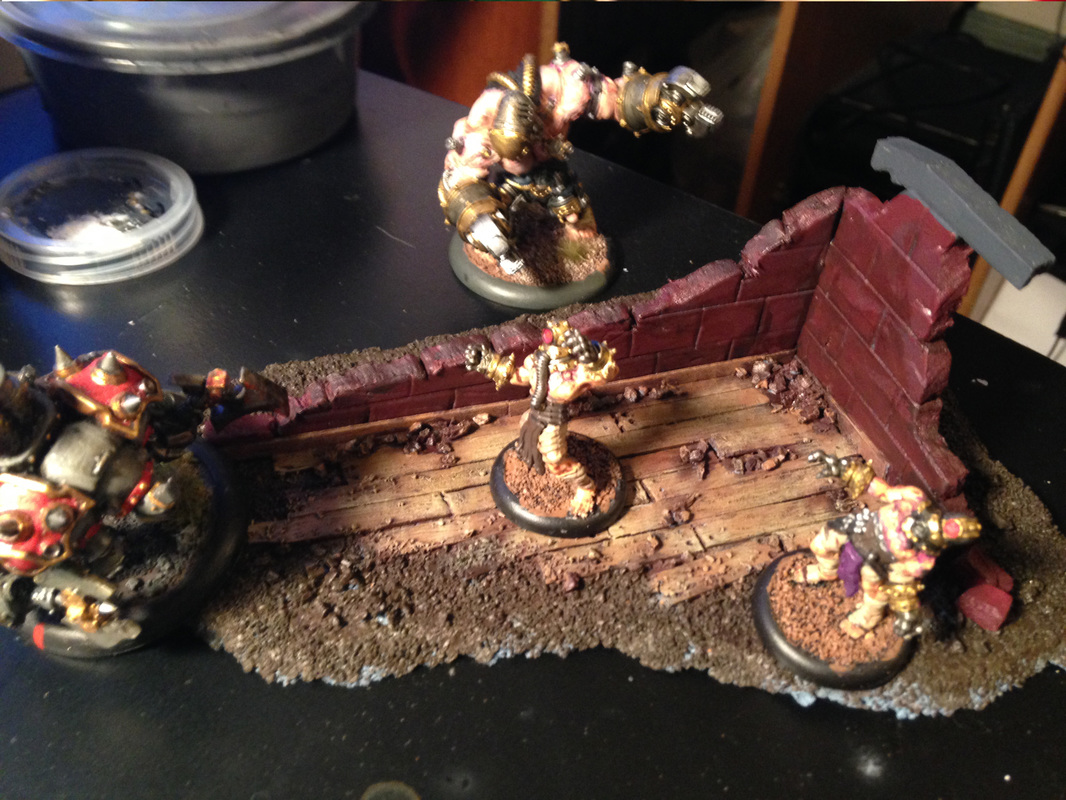
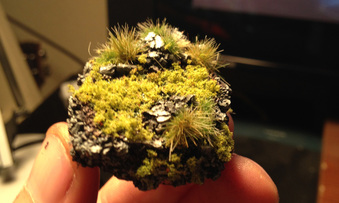
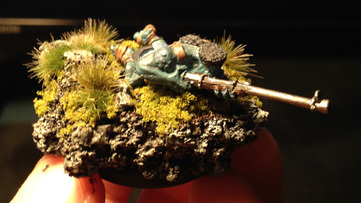
I'll start by saying that I took this entire project, from the concept to the building process, from the Terrain Wench's YouTube series, call "Squig Pit Unscripted Part 1-2." It can be found here: https://www.youtube.com/watch?v=yaf6_9xxJHU I would suggest watching it, it is great. Also follow her channel. I liked the idea of a gated monster pit or corral. I figured it would go great with a Hordes army display. Here's my current progress. 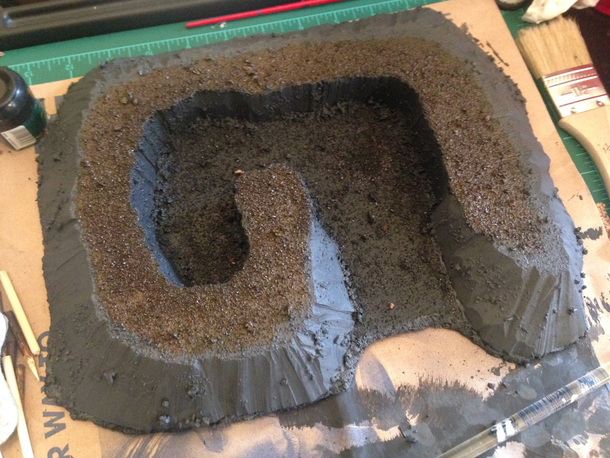 I recently came across a tutorial about using cork board to make a more interesting base for your mini. I liked this process because it was quick, inexpensive and made for some great bases. The same day I watched the tutorial, I went out and bought some cork board and a hot glue gun. I had variations of the rest of the supplies, so I set to work on a mini. I recently purchased a discount unit of Hordes' Pyg Bushwhackers on a whim. I always like them and the Trollblood army, but never really invested in them. After seeing the tutorial I knew exactly what I wanted to do though. This is the finished version of the base and how far I got on the Bushwhacker.
I decided that this was going to be what I did for all my Trollbloods. When I get them that is. I only own the one unit of Bushwhackers and the Merc unit BoomHowler and Co. for now. I use Boomhowler for my Khador and Cephalyx forces but since they're Trollblood, I'm going to give them lush forest floor bases. I want to eventually try snow / ice bases, but one step at a time. I am going to cover making the bases for my ten Boomhowler and Co. models. My process is pretty straight forward. I tear out pieces of cork board that are close to the base size. If you want to play the model, keep the shape as tight as possible. Save the pieces that get torn away. I made my first attempt two or three layers tall. I don't think I'll do this with too many models. Probably just my favorites. For Boomhowler and Co. I just used one layer of cork board. I then paint on watered down wood or pve glue and sprinkle my rocks and dirt on. Agter drying, I drop some super glue in the cracks of the larger rocks that are loose and add more if needed. 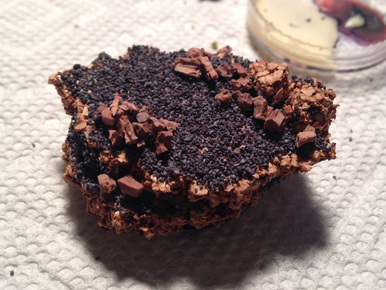 I then primer the base. I used black the first time and it worked really well. I later tried a blue-grey primer and really liked how the lighter primer worked out. So I would now suggest a blue-grey primer. I will say that it does take a bit longer and a bit more paint to get some areas and the crevasse's though. The deep spots became a real pain. So it is a bit of a trade off. Your call. 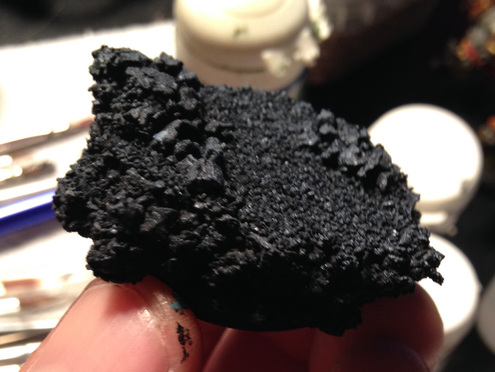 After the primer dries basecoat the gravely areas with a dark brown and the rocky surfaces with a dark grey. I base the larger loose rocks with the dark grey. Adding splotches of a lighter brown can add some variation and mixing a small amount of brown into the dark grey will harmonize the colors a bit. 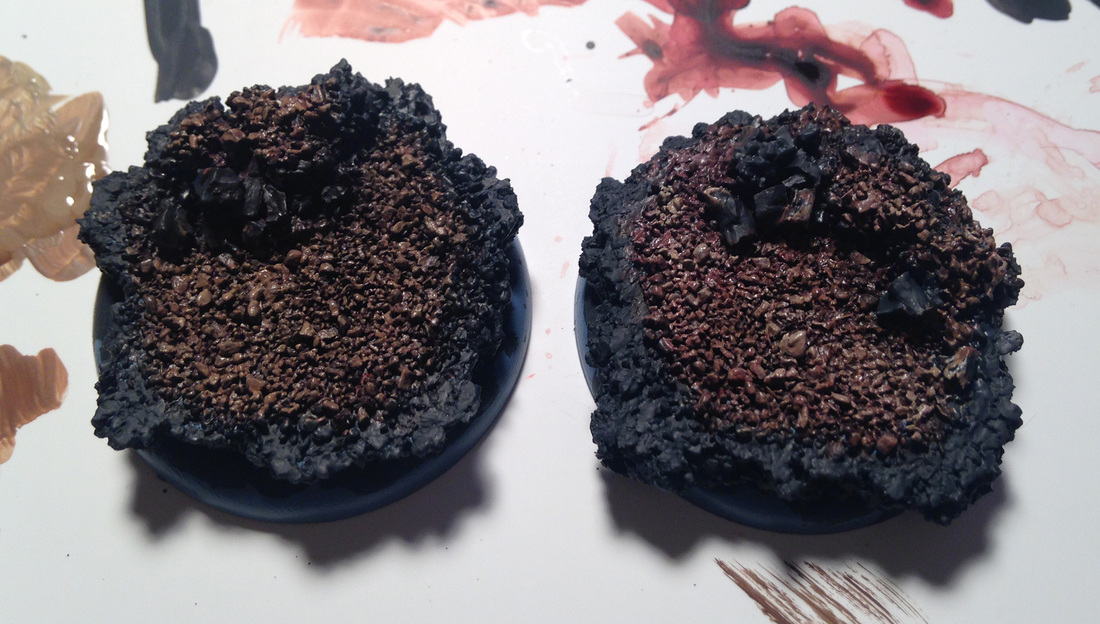 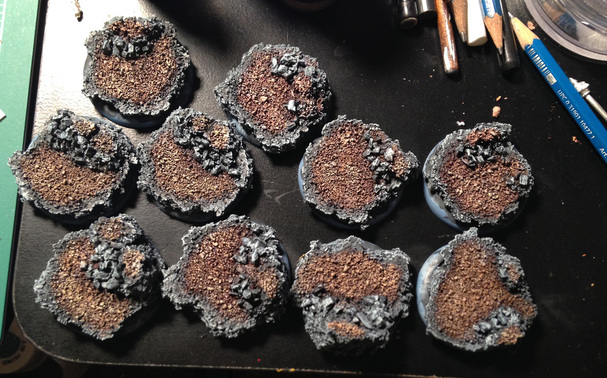 |
AuthorI am a 3d Lighting artist for games, commercials and film. I paint miniatures and build scenery as a hobby. CategoriesArchives |


 RSS Feed
